Knight Cat AI Video Download: MP4 Format and Credits
 Knight Cat AI Team
How a knight cat AI video download works: the MP4 container, 9:16 vertical output near ten seconds, resolution tiers, credit costs and private renders.
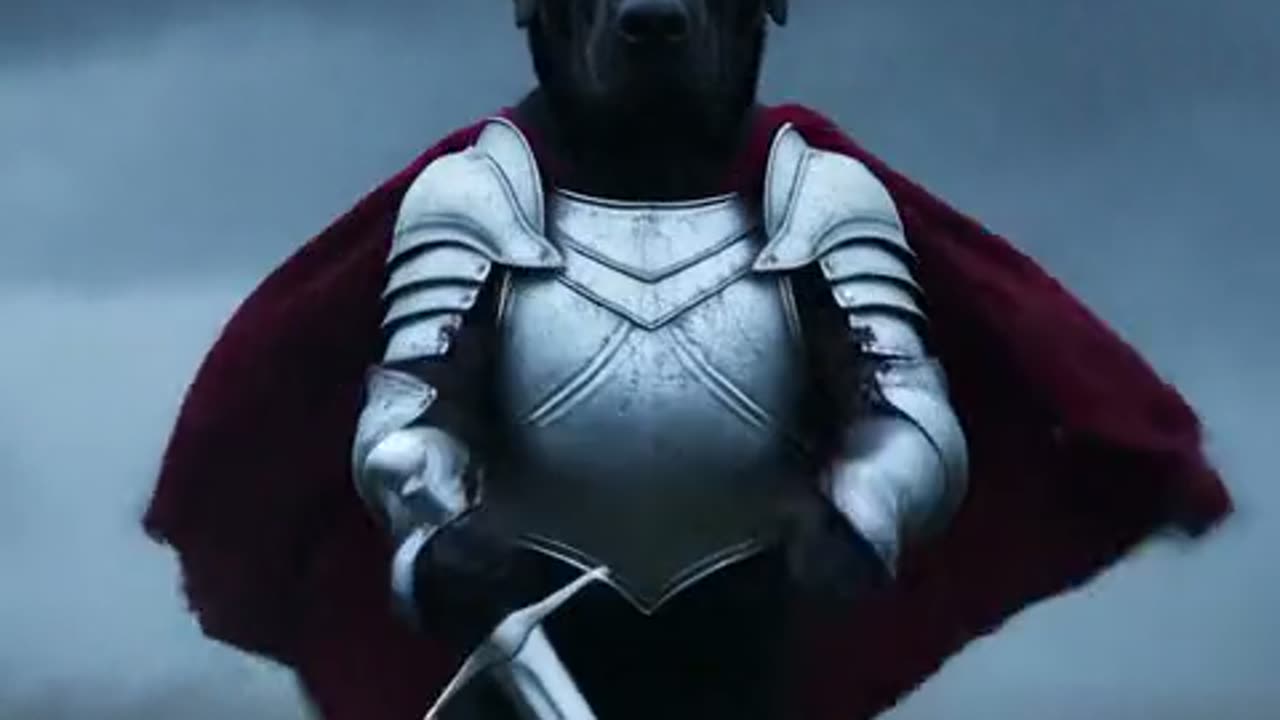
A knight cat AI video download is a single MP4 file, 9:16 vertical, around ten seconds long by default, with no watermark on the frame. You choose resolution and length before the render starts, the Seedance 2.0 model returns the finished clip to your account, and the download button hands you that exact file rather than a preview or a stream. There is no separate export step, no codec choice to make, and nothing to re-encode afterwards.
What the file actually is
The output container is MP4. That matters more than it sounds, because the alternative for AI video tools is usually a proprietary preview that has to be screen-recorded, or a webm file that some editing apps refuse to open. MP4 with H.264 video is the format every phone, browser and editor accepts, so the file you download from knightcatai.org can be dropped straight into a timeline, uploaded to a feed, or sent to a friend without conversion.
The frame is 9:16 vertical, which is the shape of a phone held upright. A render is not produced in 16:9 and then cropped for you. The model composes for the tall frame from the start, so the subject sits where it should and the environment fills the space above and below instead of being sliced off on the left and right. If you plan to publish, that saves a step and a quality loss.
Duration defaults to roughly ten seconds, with twelve seconds available as a standard length. Ten seconds is deliberate: it is one action, one camera move, one lighting beat. Long enough to read as a scene, short enough that the model does not have to invent motion it was never asked for. The same rule that makes the render stable inside the studio makes the download useful outside it.
Resolutions available are 480p, 720p and 1080p. Standard video, the number shown on the pricing cards, is Standard at 720p for twelve seconds and costs 10 credits. The default delivery spec is Standard at 1080p for twelve seconds, which costs 30 credits. Higher resolution is more pixel work per frame, so it costs more; this is not a paid unlock of the same file, it is a genuinely heavier render.
Because the frame is locked to 9:16, the height is always the long edge. A 1080p vertical render is 1080 pixels wide and 1920 pixels tall, and a 480p vertical render is 480 by 854. There is nothing to pad and no letterboxing to remove, so the resolution you pick is the resolution you post.
This clip: 30 credits · 6 clips a month for $39.90 (Pro), or 80 a year for $319
What resolution and length cost
Credits are charged per render at the moment you press generate, and they scale with both resolution and length. The short summary is that longer clips cost proportionally more and the total is rounded up to the next whole credit, so a clip that lands on a fractional cost does not get a discount.
| Resolution | Length | Credits | | ---------- | ------ | ------- | | 480p | 12s | 5 | | 720p | 12s | 10 | | 1080p | 12s | 30 | | 720p | 24s | 20 | | 1080p | 24s | 60 |
The scaling rule is linear per tier, then rounded up. Doubling the length at the same resolution doubles the cost, which is why 720p at twenty-four seconds sits at 20 credits and 1080p at twenty-four seconds sits at 60. Longer clips do not get cheaper per second, and there is no bundle discount for rendering a longer scene in one pass. If you want a longer result, the arithmetic above is the whole of it.
If your balance is low, 480p at five credits is the cheapest way to test whether a prompt works at all. The composition, the action and the camera move are the same at every resolution; only the number of pixels changes. Fixing a prompt at 480p and then rendering the approved version at 1080p is generally cheaper than discovering a problem after three 1080p attempts. The pricing page lists the credit packs and the exact tiers.
Which resolution to pick for each destination
Resolution should follow the destination, not the other way round. Upscaling a 480p file to fill a 1080p player is visible as softness, especially on fur and stonework, but a 1080p render posted to a feed that re-encodes heavily can come back looking no better than a 720p source. Pick the tier that matches the smallest thing you will ever publish.
| Destination | Recommended | Why | | --------------------------------- | ----------- | ------------------------------------------ | | Quick prompt test | 480p / 12s | Cheapest way to check motion and framing | | Feed post (TikTok, Reels, Shorts) | 720p / 12s | Platforms re-encode; 720p survives it fine | | Archive or editing timeline | 1080p / 12s | Headroom to crop, zoom or stabilise later | | Slideshow or embedded page | 720p / 12s | Smaller file, faster load, no visible loss | | Anything you will zoom into | 1080p / 12s | Details in armour and fur stay defined |
For a feed post, 720p is usually the right call. Short-form platforms transcode every upload to several bitrates, and the top bitrate rarely rewards a 1080p source enough to justify three times the credits. Where 1080p earns its cost is when you will edit the clip: cropping into a corner, adding a slow zoom, or compositing the render with other footage all throw away pixels, and starting from 1080p leaves you room to do that. The TikTok posting guide covers the framing and safe-zone side of that workflow in more detail.
If you are still deciding whether the effect is worth rendering at all, start with a single 480p test. The generator page explains what the studio does and how the four presets differ, and the home page has the live tool where you can run that first test.
No watermark, and where the file lives
Every render leaves the model with no watermark. There is no logo in the corner, no end card, no overlay to crop around. That is not an upsell you can buy out of; it is the default state of the output, the same at 480p as at 1080p. The practical consequence is that the file is finished when it arrives. You do not need to plan a crop that removes a corner mark, which in a 9:16 frame usually means losing part of the composition.
Renders are private to the account that made them. Nothing is published to a public feed, nothing is indexed, and no other user can see your cat in a knight's armour unless you choose to post it somewhere yourself. The download is not a share link and the gallery is not a gallery other people browse. Treat the file as yours: the studio is a rendering tool, and the publish step is always a separate decision you make on a platform of your choosing.
Your render history, including the clips you have not downloaded yet, sits behind your account. You can review it from settings, where the balance and the account itself live. If a render fails for a technical reason, the credits are returned to the balance they came from, so a failed attempt does not silently consume your budget. That matters most when you are experimenting with prompts that push the model hard, because the cost of a failure is time rather than credits.
Downloading works the same on desktop and on a phone. On desktop the file lands in your downloads folder with the other MP4 files. On a phone the browser will either save it to your files or offer to open it in the app you tapped, depending on the operating system. Either way, what you get is the full-resolution render, not a compressed copy.
Re-rendering at a higher resolution costs credits again
A finished render is a fixed file. You cannot ask an existing 480p render to be re-decoded at 1080p and charged only the difference. The model has to run again from the same inputs, at the higher tier, and that render is charged at the full price of the higher tier. The five credits you spent on the test clip are not a deposit against the thirty a 1080p render costs.
This is why prompt discipline pays for itself. Once you know the seed, the preset and the wording that produced the motion you wanted, a second render at a higher resolution reproduces that scene rather than searching for it again. Keep the reference photo the same, keep the camera language the same, and keep one dominant action in the shot. If the composition depended on a lucky variation, a re-render at a higher tier may not reproduce it exactly, and you may need more than one attempt to land the same frame.
Two habits reduce the total spend. First, lock the prompt at 480p, since the action and framing are identical at every tier. Second, only raise resolution when the destination genuinely requires it, using the table above. A 12-second 720p render is ten credits, which is a small price for a file that is ready to post; the same clip at 1080p is thirty, which is worth paying when you will edit it, and not otherwise.
There is also no way to download a partial or preview-only version. The file arrives complete or not at all, and a failed render is refunded rather than delivered in a degraded state.
FAQ
Is there a watermark on the downloaded file? No. Renders carry no watermark at any resolution, and there is no paid step to remove one.
What format and shape is the download? An MP4 file, 9:16 vertical, roughly ten seconds long by default with twelve seconds as a standard length. No conversion or cropping is needed before posting.
Can I download the same render again later? Yes. The render is stored against your account and the download button can be used more than once. There is no charge for downloading a file you already rendered.
Does re-rendering at 1080p cost only the difference from a 480p test? No. A new render is charged at the full price of its tier. The 480p test credits are already spent when that render was produced.
Who can see my renders? Only you. Renders are private to the account and are never published to a public feed. See the privacy policy for the data side, and terms of service for the account rules.
What should I do with a clip that keeps failing? Simplify the prompt to one dominant action, keep the reference photo pose clear, and use a locked-off or single camera move. Fewer demands per shot mean fewer attempts and fewer credits spent. The prompts guide walks through wording that holds up.